
Three Tips for Better Underwater Photos (None of Them Is a New Camera)
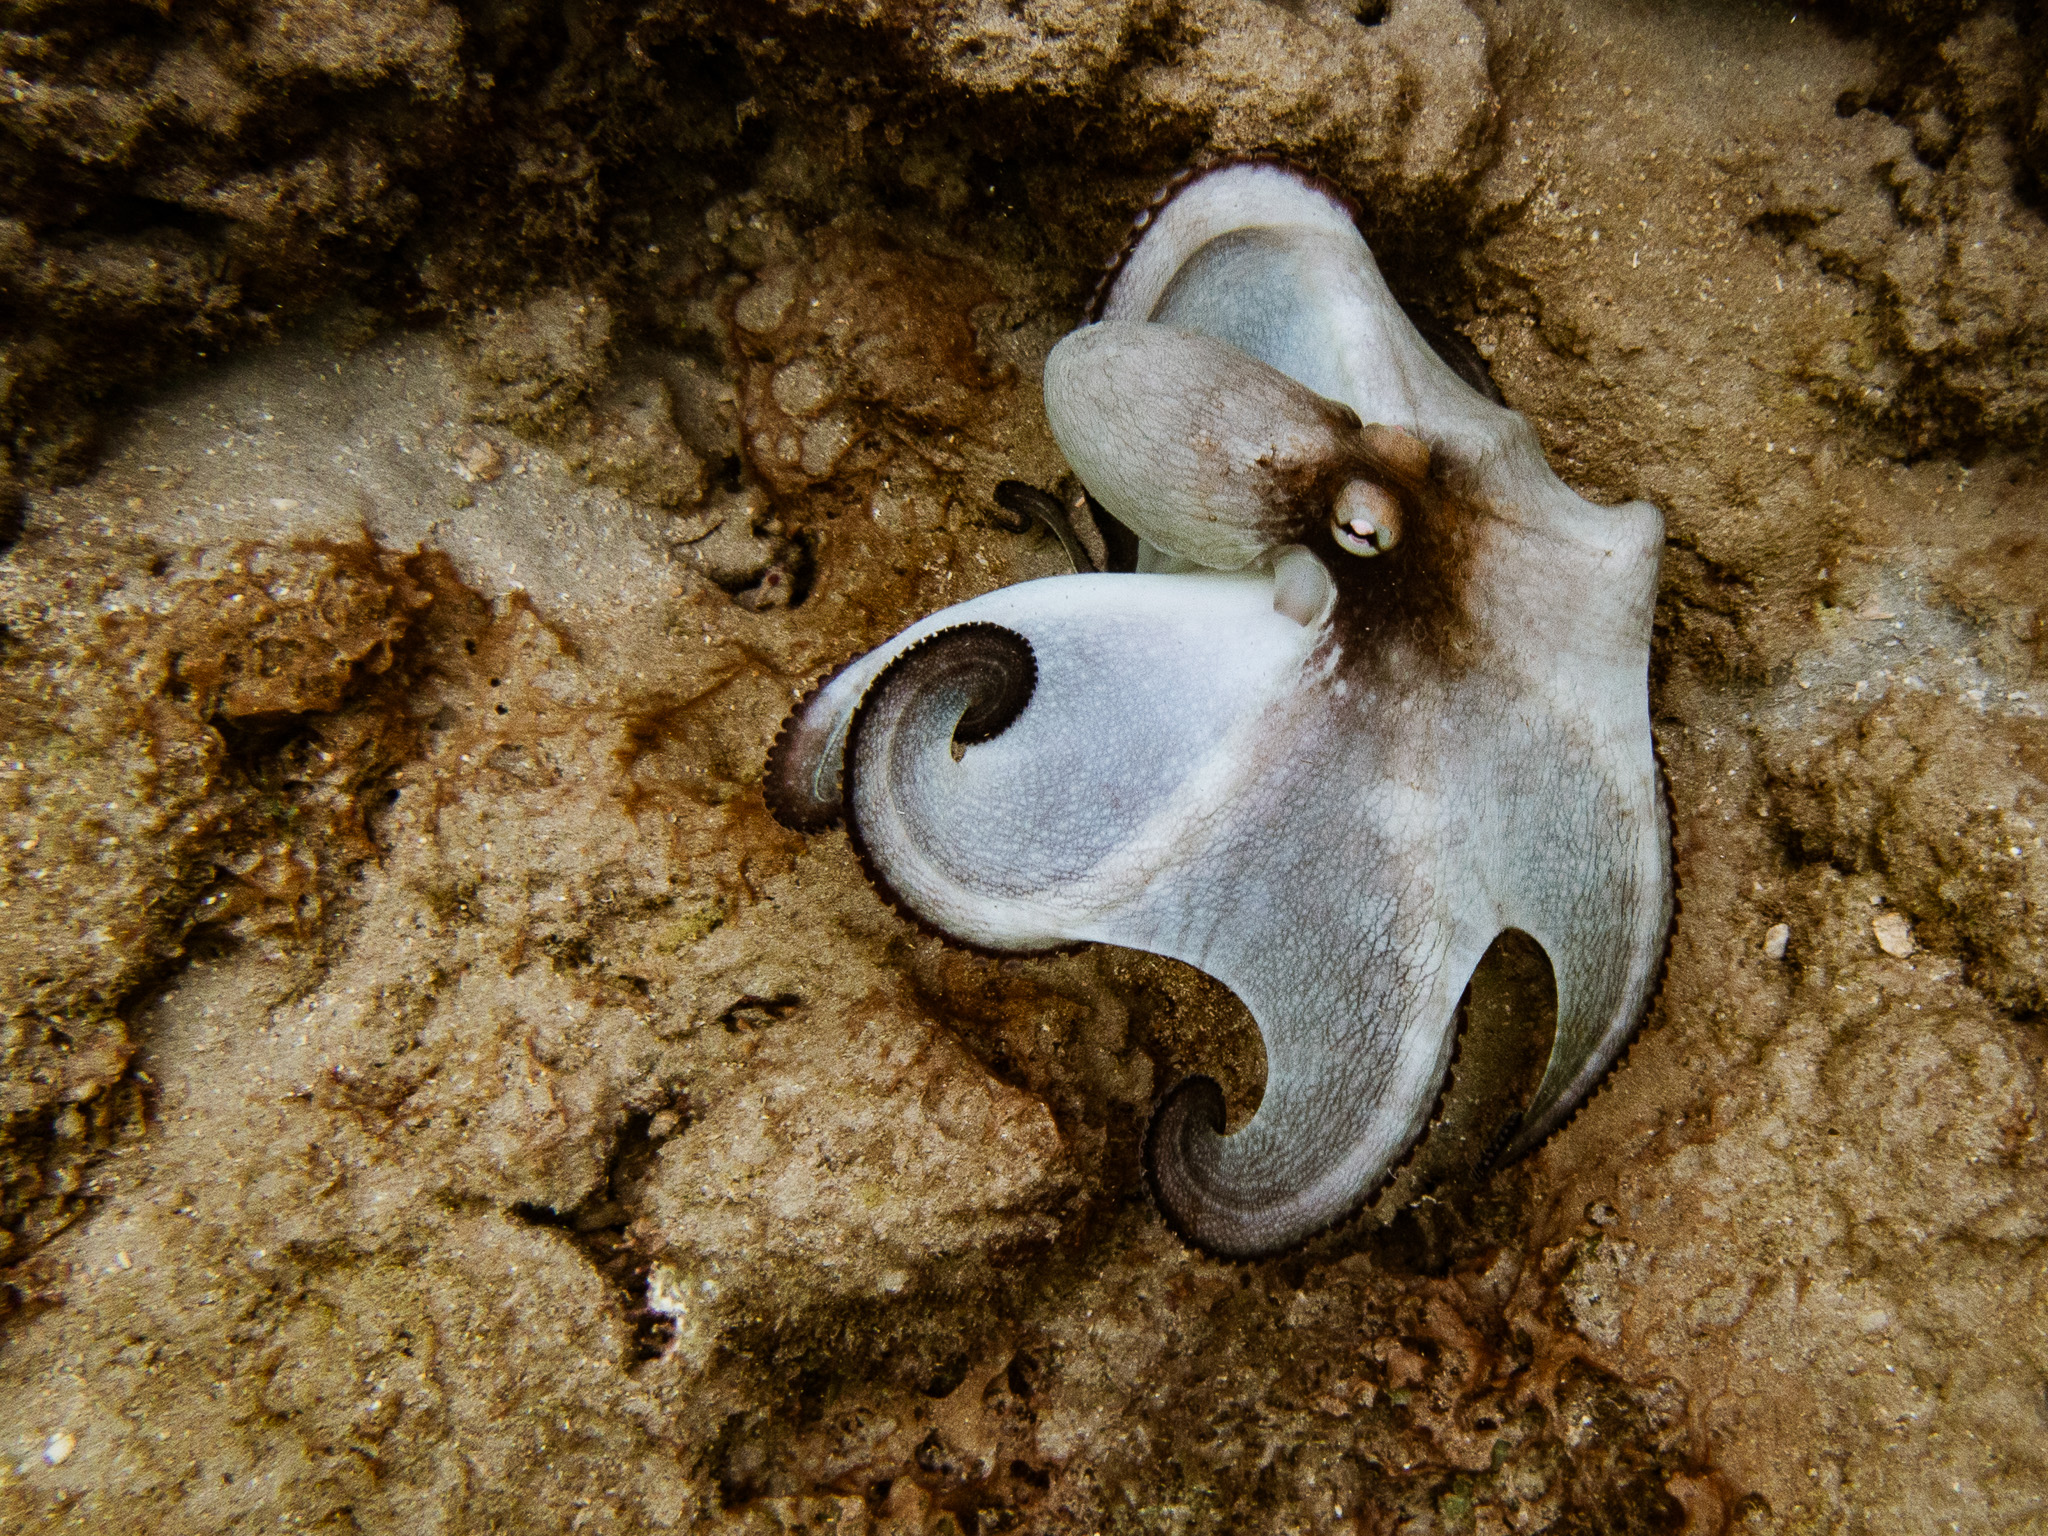
What you see in this photo is a Caribbean Octopus from probably 2 feet away, no strobes and a lot of patience until I got it on the right pose for the camera!
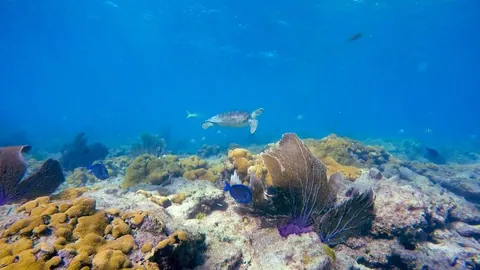
I've shot underwater with a GoPro Hero 8, an Olympus TG-6, a Nikon D500 in a housing and, most recently, a mirrorless Nikon Z8. One of my very best photos was taken with the GoPro, on a shallow reef.
That's the whole point of this article: you can get great pictures with whatever camera you have right now. A better rig gives you more options. It doesn't take the photo for you.
What does make the difference comes down to three things. None of them costs a dollar.
1. Get close, then get closer
Water is the enemy between your lens and your subject.
Even on a clear day, water is full of particles, plankton and sediment, and it soaks up light, color and contrast. Every foot between you and the fish is another foot of haze. Halve the distance and the photo gets dramatically sharper, brighter and more colorful.
This is why most "bad" underwater photos look the same: blue-green, soft, with a small fish-shaped blur in the middle. The photographer was simply too far away.
If the subject fills less than a third of the frame, you're too far. Move in before you press the shutter.
Don't zoom, swim. Zooming in still shoots through the same amount of water.
Start small. A blenny or a nudibranch a hand's width from your lens is easier than a shark at fifteen feet.
Once you're close, you've solved half of your color problem too. Which brings us to the next tip.
2. Reds are gone after 15 feet
Water filters out color as you go deeper, and it always happens in the same order. Red goes first, mostly gone by about 15 feet. Orange and yellow follow, until everything left is blue and green.
That's why the bright red sponge you remember looks brown on your screen, and why every photo at 60 feet has the same cold cast.
There are three ways to bring the color back:
White balance. In shallow, sunny water, a custom white balance (or a fix in editing) recovers a lot of color. That's exactly why my GoPro photo worked: shallow reef, lots of light.
A red or magenta filter. Great for shallow, bright dives and snorkeling. It stops helping once the light fades.
Your own light (a strobe or video light). The only way to get real color back at depth, and it only works if you're close. Light travels through water too, so tip one still applies.
A quick bonus: if your photos look like they were taken in a snowstorm, that's backscatter, which is particles in the water lit up by your light. Angle your lights out to the sides instead of straight ahead and most of it disappears.
3. The golden rule: master buoyancy before anything else
If you remember only one thing from this article, make it this: buoyancy is the most important skill in underwater photography. It comes before the camera, before the lights, before everything.
Getting close (tip one) and holding still long enough to light your subject (tip two) both depend on it. You can't compose a shot while you're sculling with your hands, kicking to hold position or slowly sinking onto the reef. Photographers who get the shot can hover motionless a foot from the subject, turn on the spot and back away without touching anything. That's what lets them take their time, and taking your time is where good photos come from.
It's also how you protect the reef. A diver who kneels on coral to steady a shot, or kicks up a cloud of sand on the way in, ruins the photo and damages the very thing they came to see.
Where to start:
Check your weighting. Most divers carry too much lead, and the extra air in their BCD makes them bob up and down. At the end of a dive, at your safety stop with a low tank and an empty BCD, you should hold your depth comfortably while breathing normally.
Get horizontal. Knees bent, fins up and off the bottom, so your kicks don't stir up silt into your shot.
Fine-tune with your breathing. A slightly deeper breath lifts you, a long exhale settles you down. Never hold your breath.
Learn the frog kick and the back kick. They push water backward instead of down, and let you back away from a subject without using your hands.
Keep an eye on your gauges. It's easy to drift deeper or lose track of time while you wait for the shot. Set depth and no-deco alarms on your computer.
Touch nothing living. If there's no safe way to get the shot, move on. There will be another fish.
Practice hovering on your next few dives, even without a camera: stop over sand and hold perfectly still for one full minute, hands-free. When that feels easy, do it a foot closer to the bottom. A buoyancy course with a good instructor is one of the best investments any underwater photographer can make, and usually a better one than a new lens.
The short version
Get close, then get closer.
Reds are gone after 15 feet. Shoot shallow in good light, or bring your own.
Master buoyancy before and above anything else.
Do these three things and the camera you already own will surprise you. Mine did.
Dive these sites
-
1
Sombrero
Shallow reef, great to start your underwater photographer journey
-
2
Blue Heron Bridge
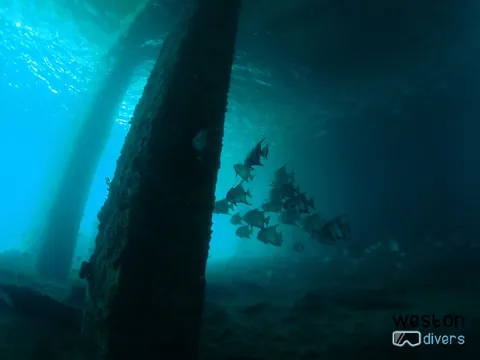
You can stay there for hours - literally. One of the favorite sites for macro photographers.
-
3
Looe Key
The more marine life present gives you more chances to get a good shot.
 OW